
TilBuci is a web application designed for multi-user access and collaborative creation. The installer is presented as a script for configuration on a web server.
Personal use is also possible. For this purpose, the software can also be downloaded as a portable desktop app for Windows, Linux, and macOS (x64 architecture) that requires no installation.
For WordPress users, TilBuci can also be installed as a plugin, integrating with the tool’s dashboard. For more details, visit https://plugin.tilbuci.com.br/
The TilBuci current requirements for installation are: a web server (tested with Apache on Windows and Linux), PHP version 8 or newer, MySQL (version 8 or newer) or MariaDB (version 10.2 or newer).
Both the web installer and desktop versions can be downloaded from the software repository. You can use the same package to install it for the first time or to upgrade a previous version.
https://github.com/lucasjunqueira-var/tilbuci/releases
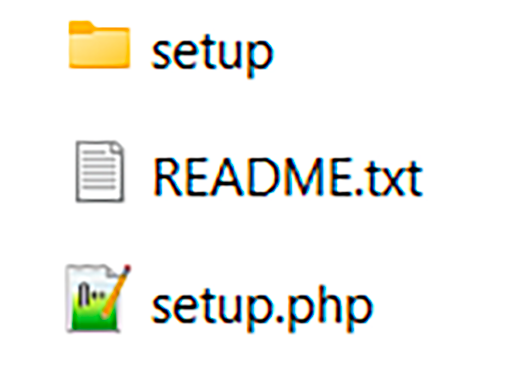
Unzip the downloaded package. You’ll find two files and a folder in it.
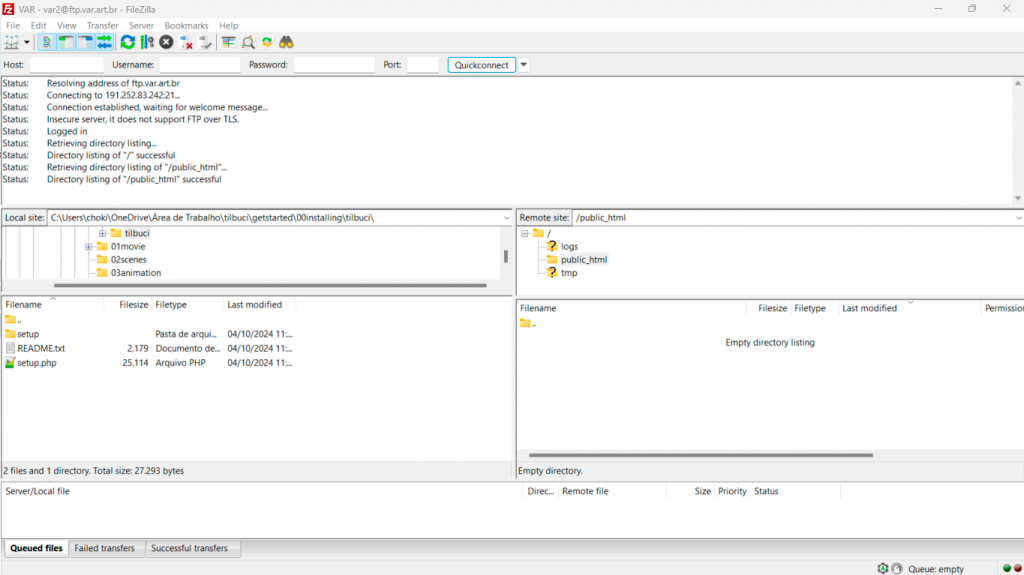
If you are installing TilBuci on a web sever, connect to it (with FTP or any other method) and copy the zip contents to the site root.
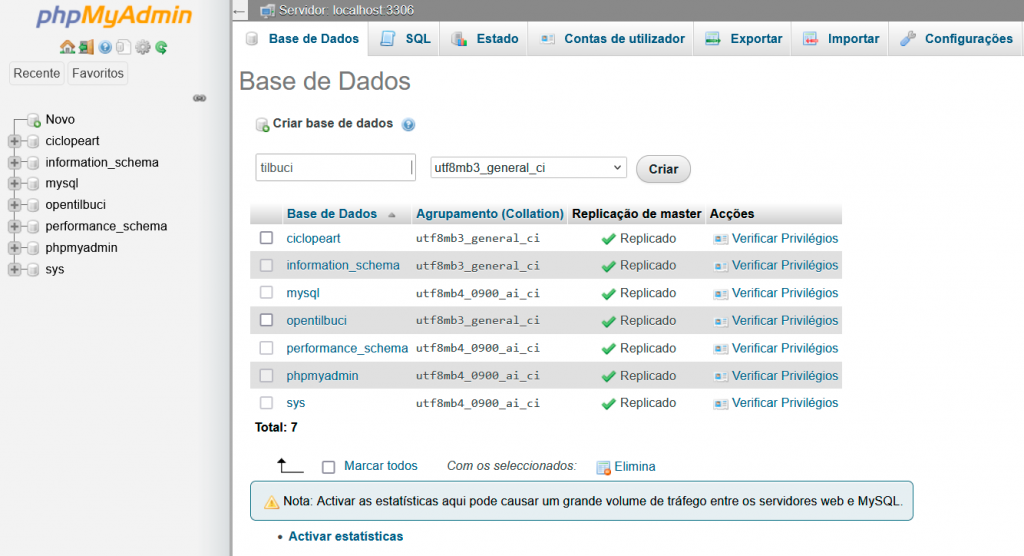
Now, you must create a database for TilBuci. You can use any tool you want, like the phpMyadmin or HeidiSQL.

Time to run the setup.php script. Access it from your browser. You must fill the required information and click the Check information and install button.
If you are installing TilBuci on a web service, always choose the multi user mode.
If you already have TilBuci installed on your server, the update instructions will appear instead of the first install ones.
When the installation finishes, just remove the setup.php script from your server.
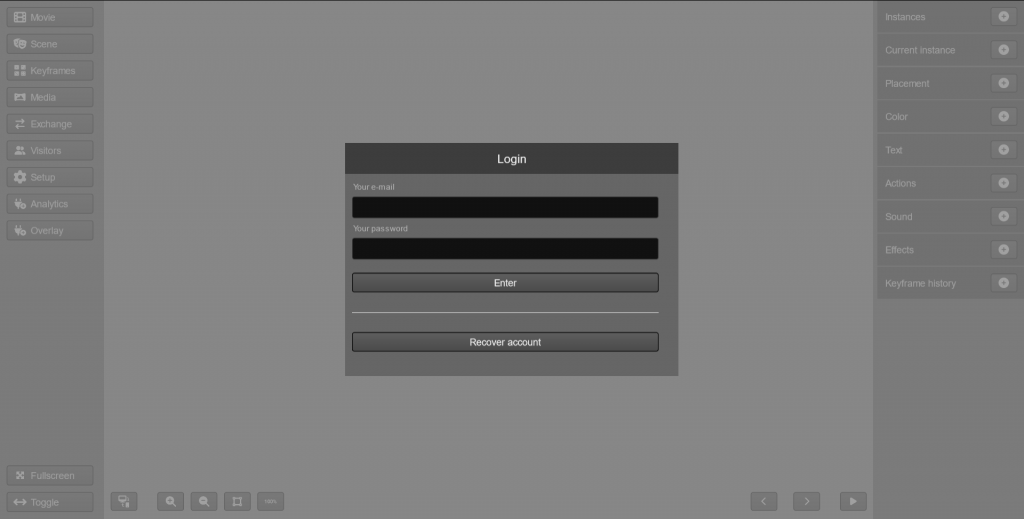
Now, it’s time to open TIlBuci for the first time! Open the /editor route of your server (like https://mydomain.com/editor/) and you can start your creative work!
If this is the first time you are using TilBuci and installed it using the multi user mode, access with your email and password as your password. Remember to access Setup at the left menu and change your password after the login.