So far we’ve seen several types of media that can be incorporated into your TilBuci creations, but there are still two that we haven’t covered.
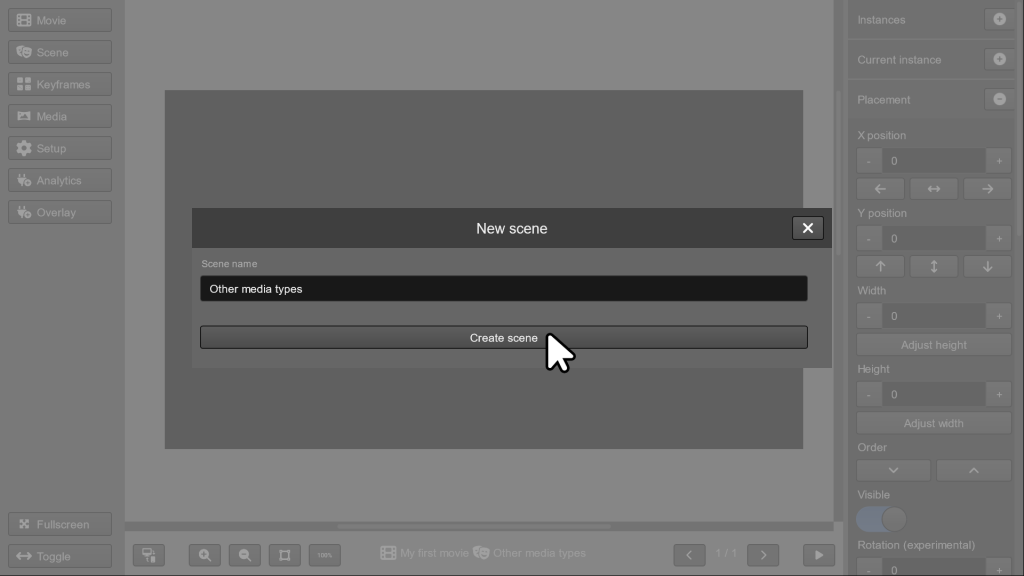
Start by creating a new scene.
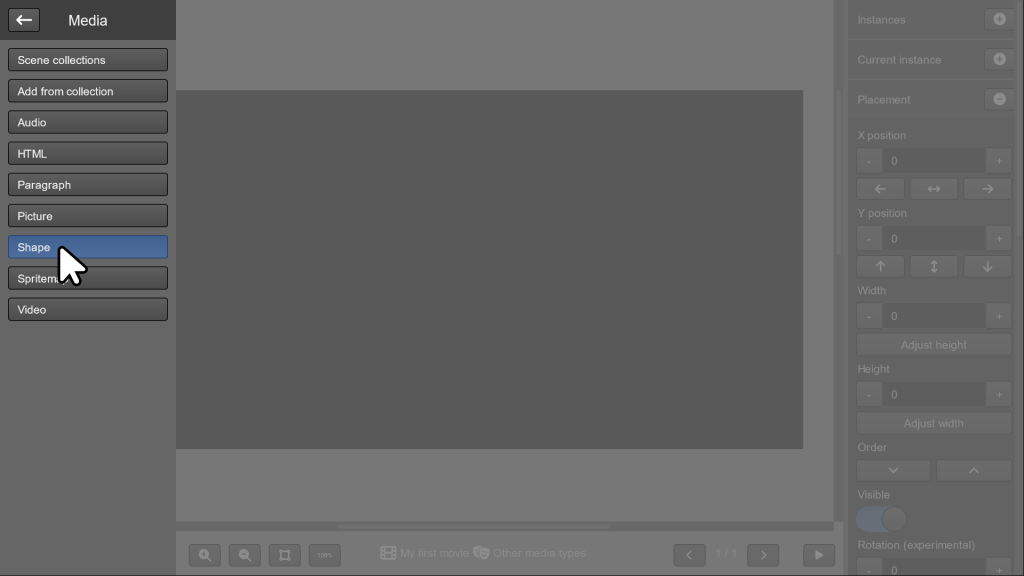
Now, go to Media > Shape in the left menu.
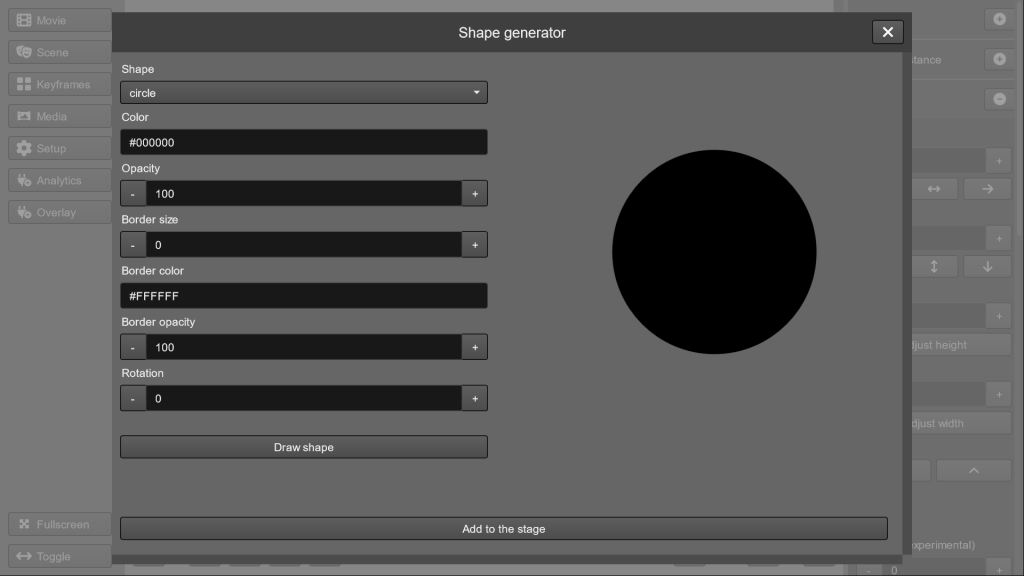
The shape generator will appear.
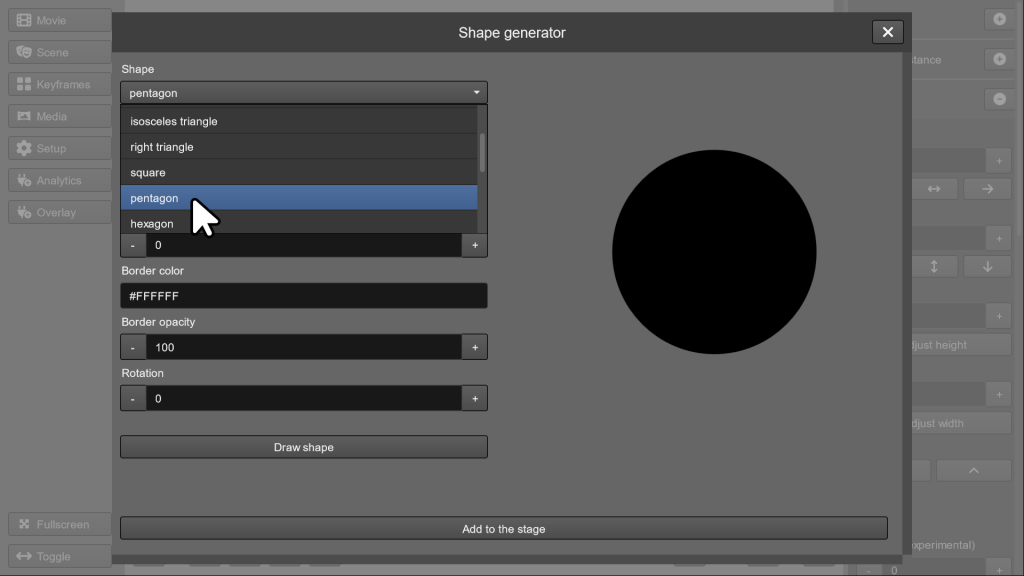
You can adjust several properties of your shape, such as the number of sides, fill color, line, and rotation.
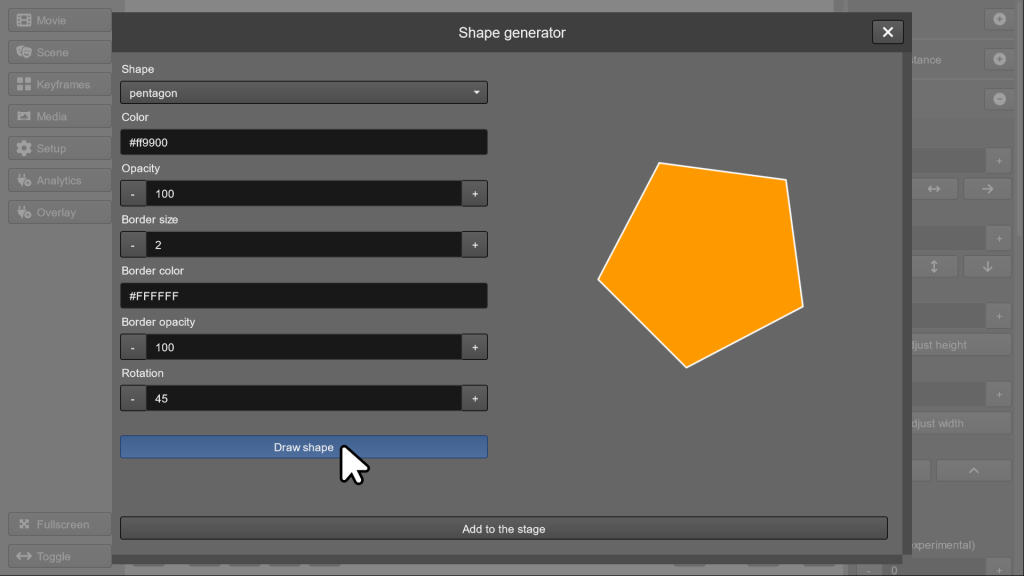
After setting all the adjustments, click Draw shape to see how the image turned out.
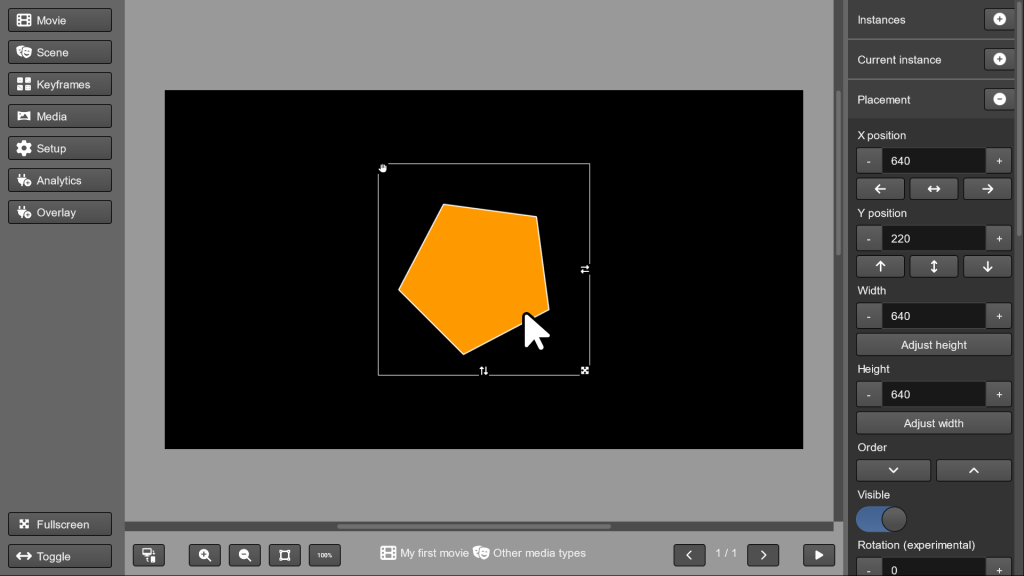
If it’s the shape you want, click Add to the stage. Your shape will behave like any other image on the screen.
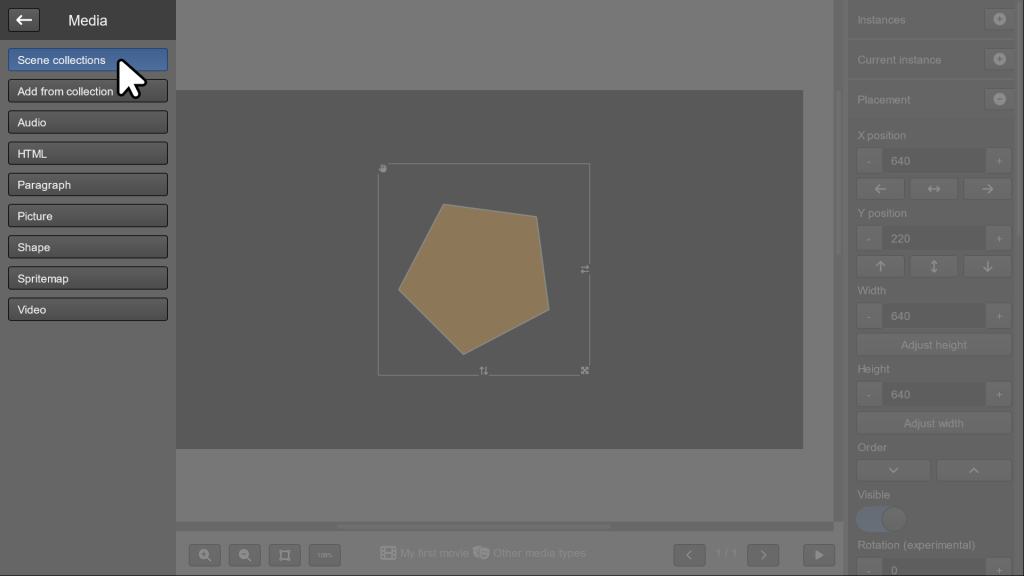
If you want to change the shape after adding it, go to the Media > Scene collections menu.
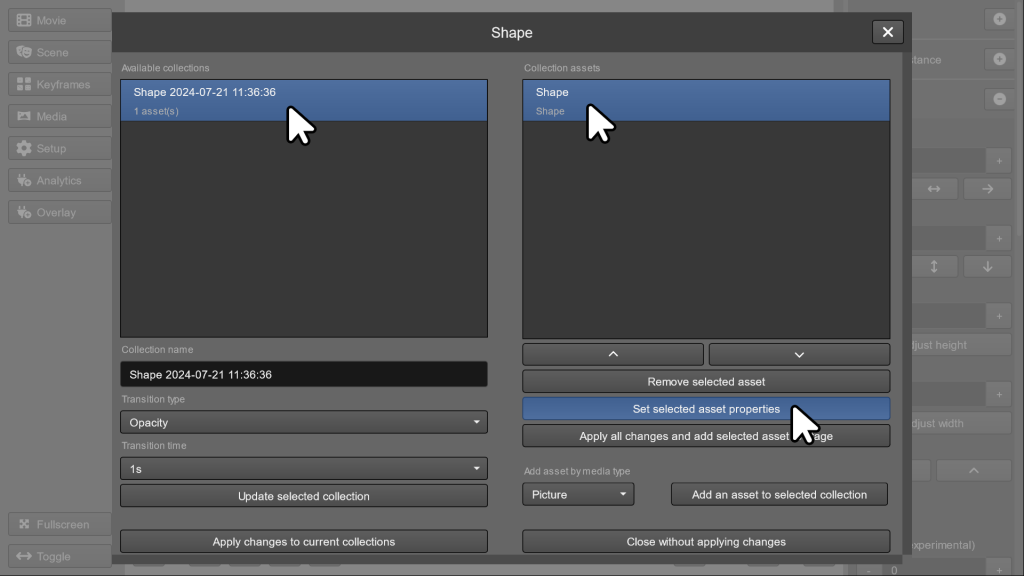
The collections window will open. It has many functions that we will see in another video. For now, select the collection and asset of your shape and click Set selected asset properties.
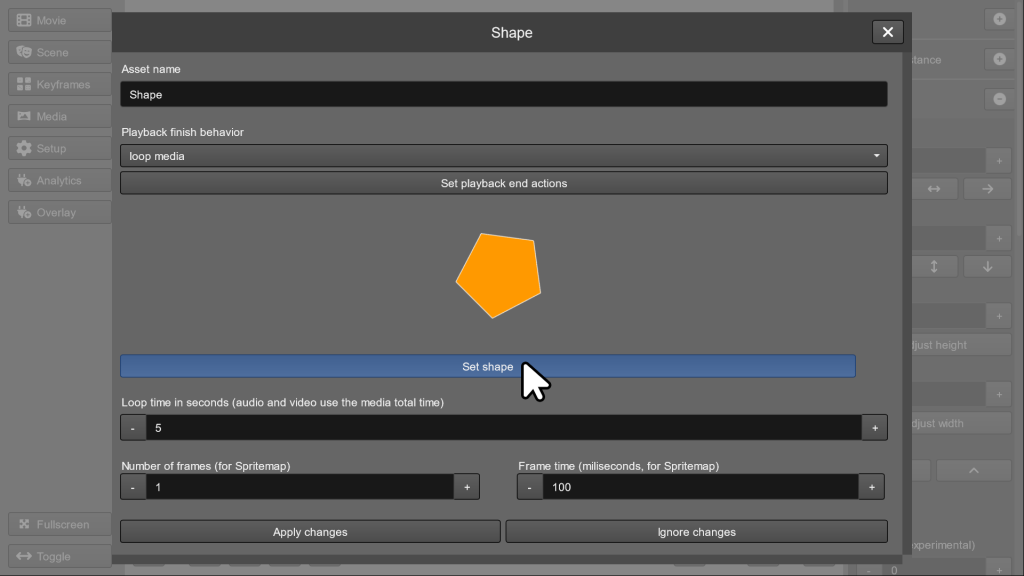
On the asset adjustment screen, click Set shape.
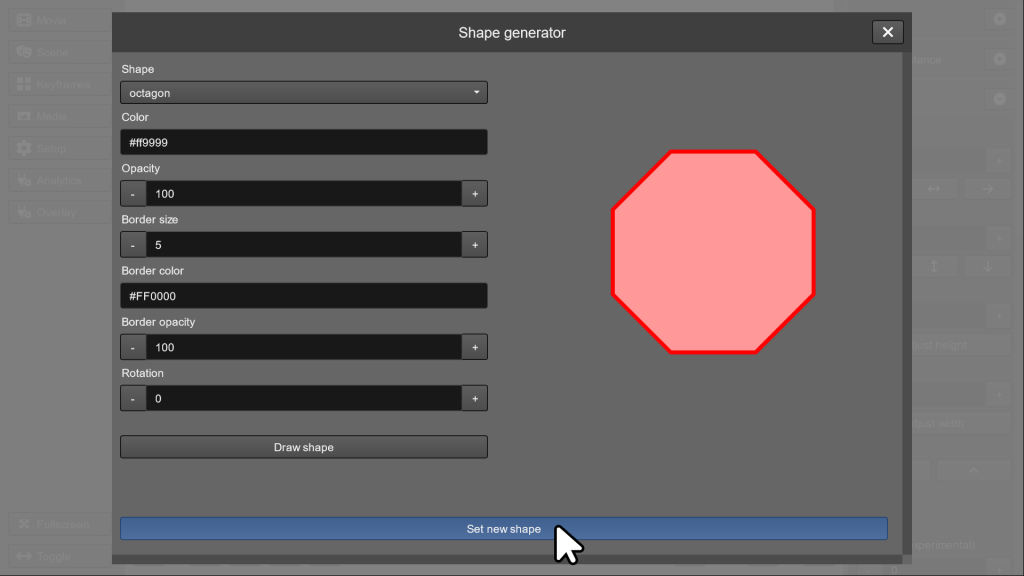
Now you can adjust the shape however you want. When finished, click Set new shape.
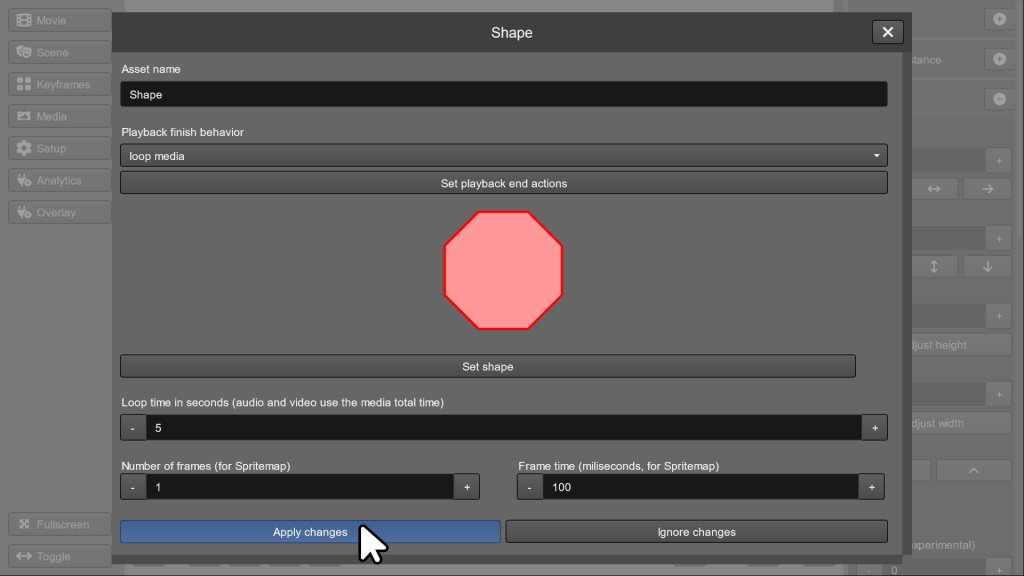
Here, click on Apply changes.
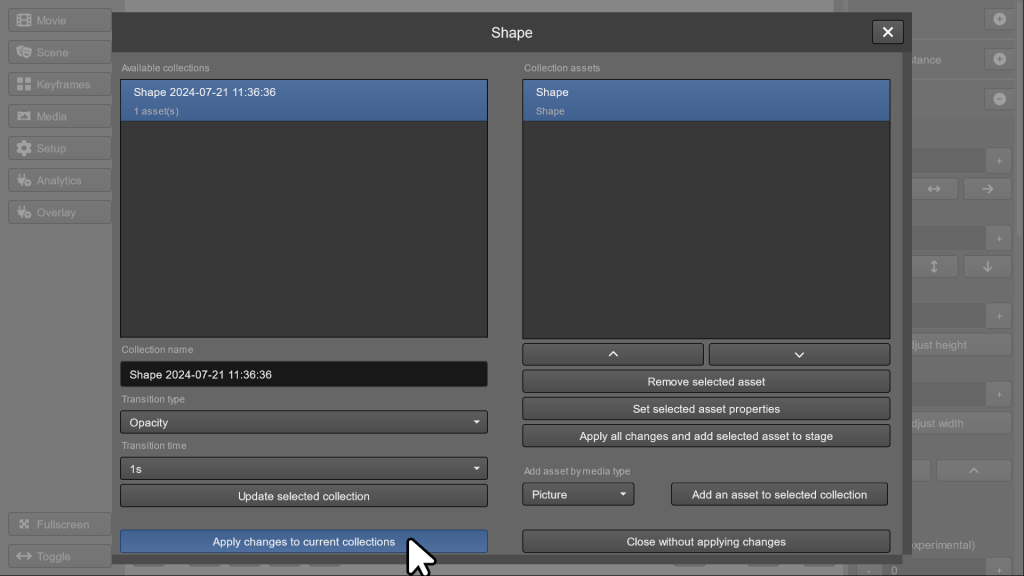
Lastly, click Apply changes to current collections and confirm the change.
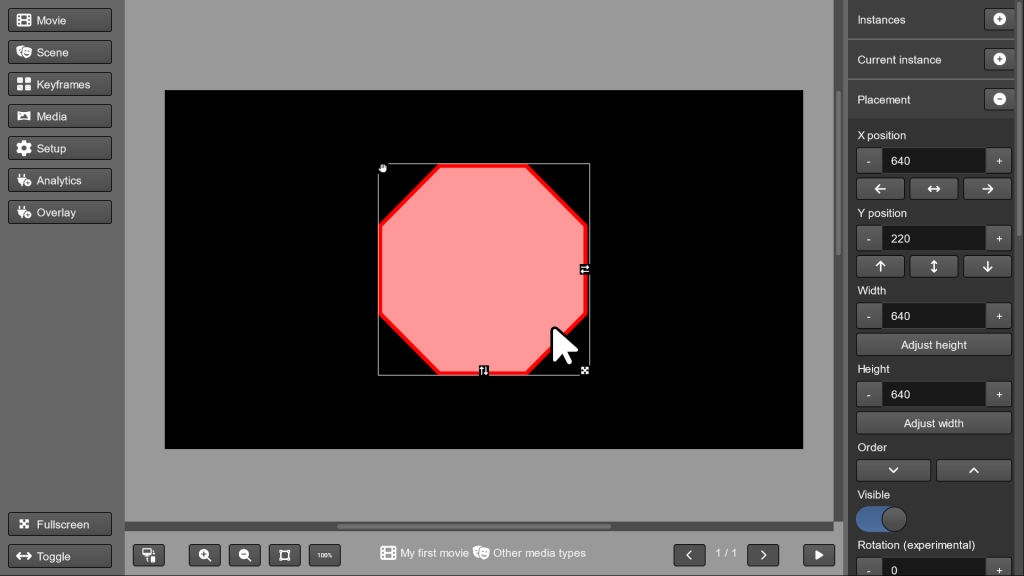
Your new shape will now be ready on the stage.
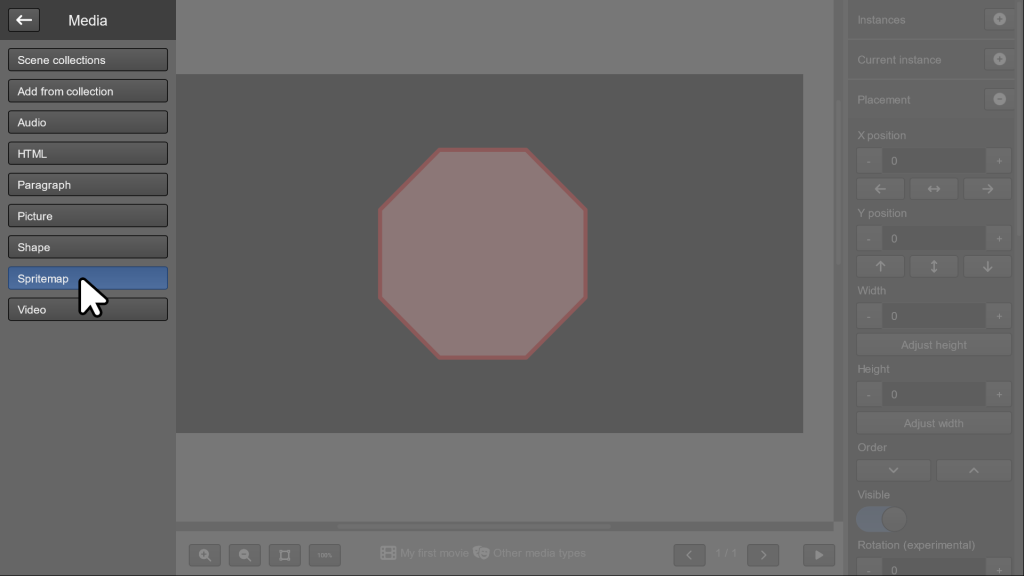
The next media type is the Spritemap.

This media type uses a PNG image with multiple frames of an animation.
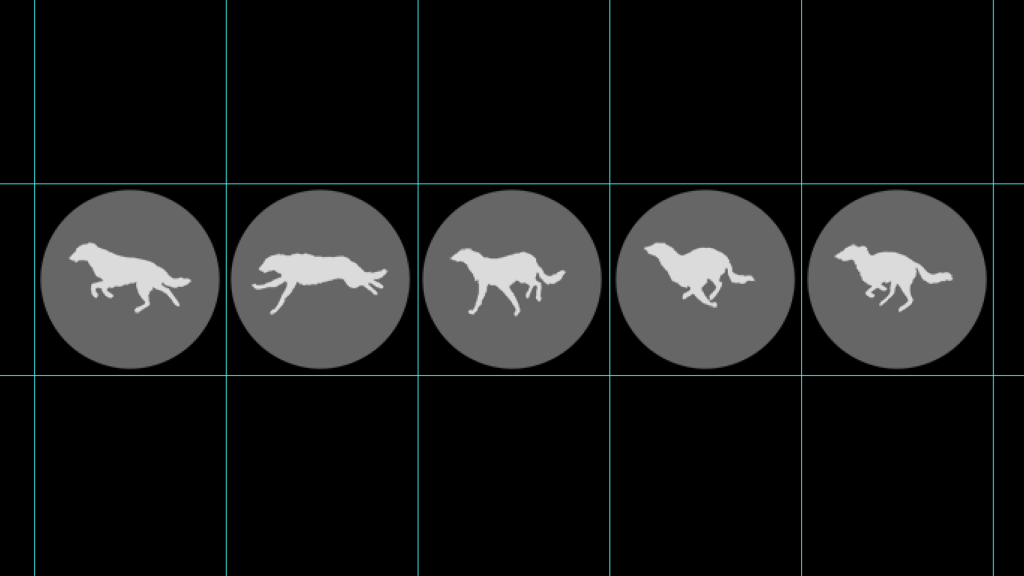
Distribute the animation frames horizontally across the image. For example: for an animation of 5 frames measuring 128×128 pixels each, an image measuring 640×128 pixels will be required.
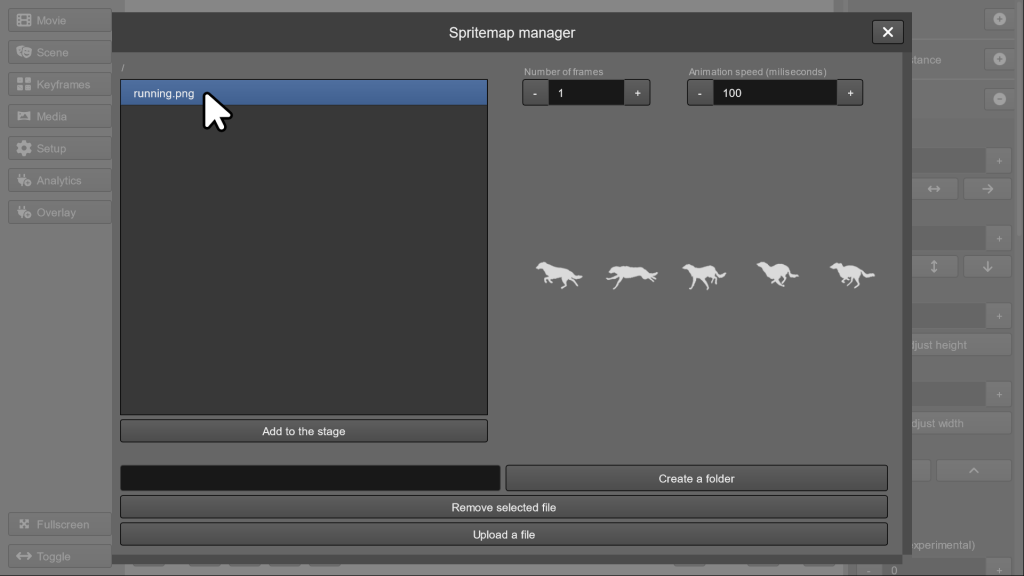
Now upload and select the image in the Spritemap manager.
At the top of the window, indicate the number of frames. You can also indicate the time between each one.
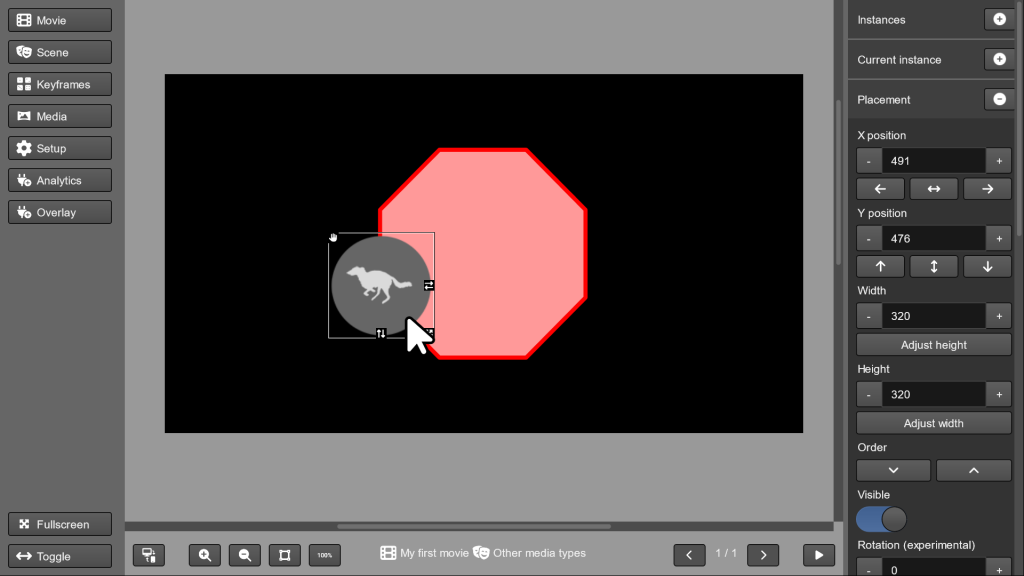
Click Add to stage and your animated image will be added.
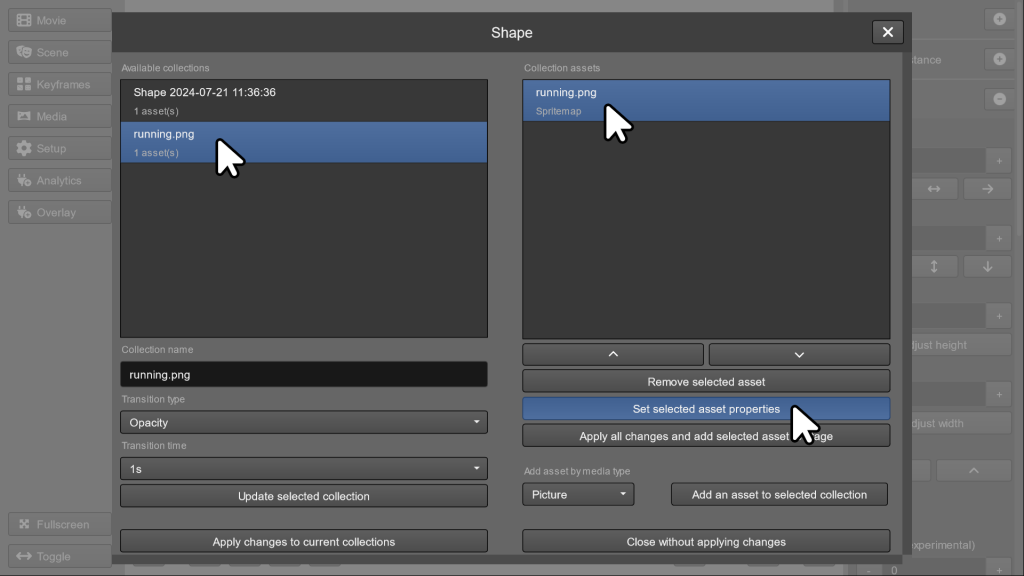
To change a spritemap’s settings, go to Media > Scene collections, select the collection and asset, and click Set selected asset properties.
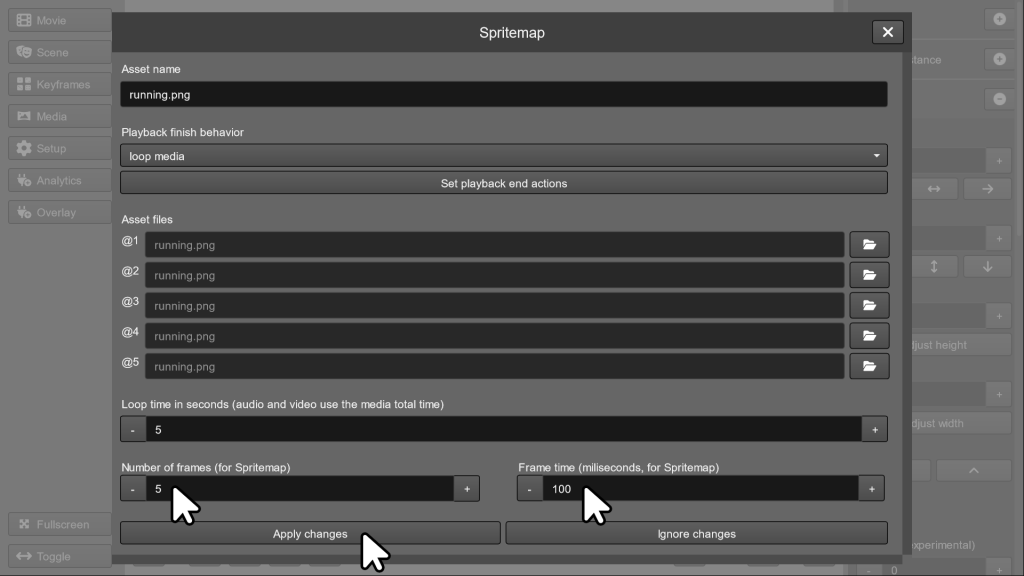
In this window you can adjust the number of frames and the time between them.
In this guide we learn about two more types of media that you can use in your TilBuci creations. Keep following this series for more tips.
