So far we have worked with several scenes, but did you know that they can contain several keyframes, with animations?
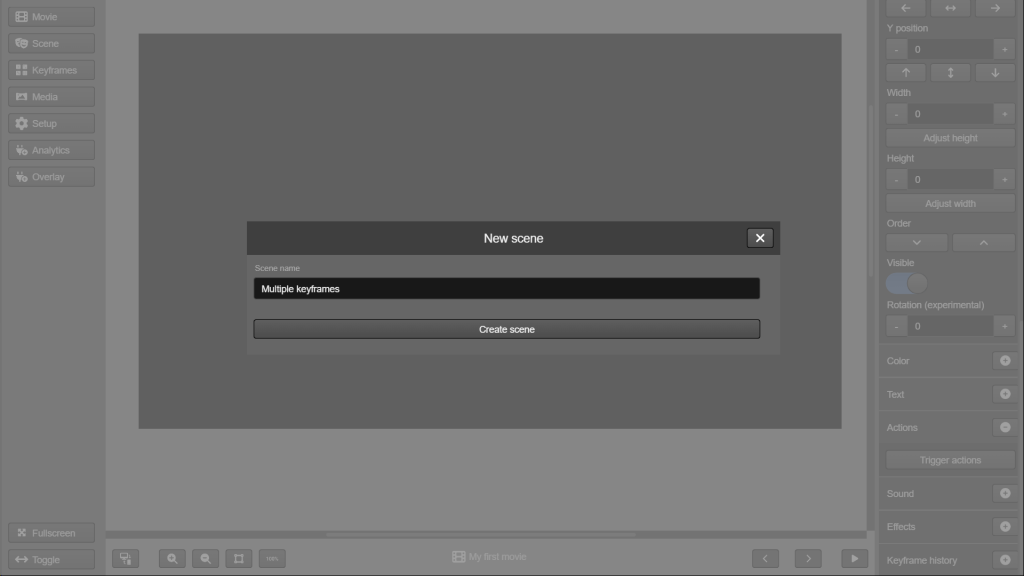
Start by creating a scene in your first movie.

Let’s add a red circle and position it horizontally in the center, but below the visible area of the scene.
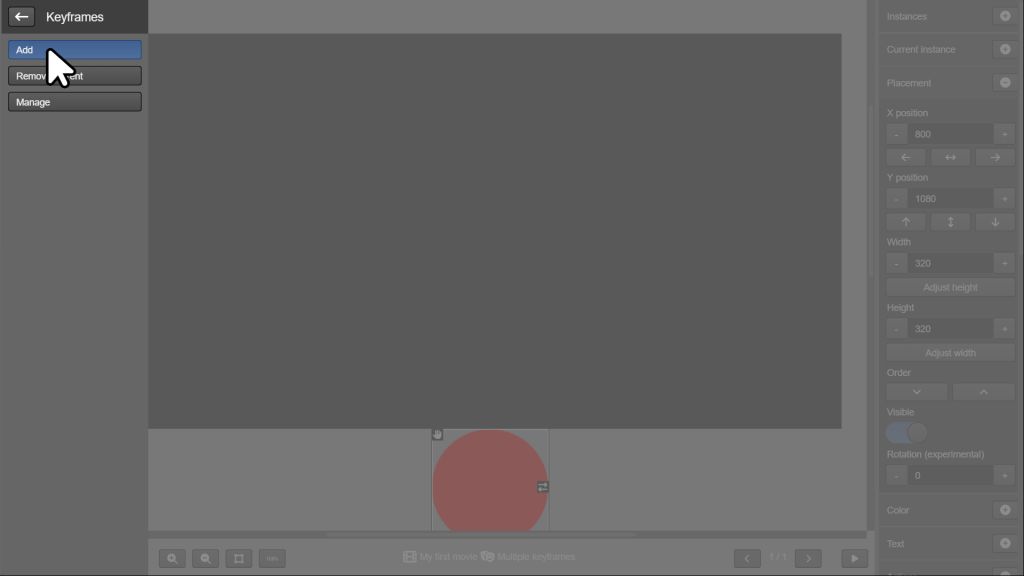
Now add a keyframe to your scene by going to Keyframes > Add in the left menu.
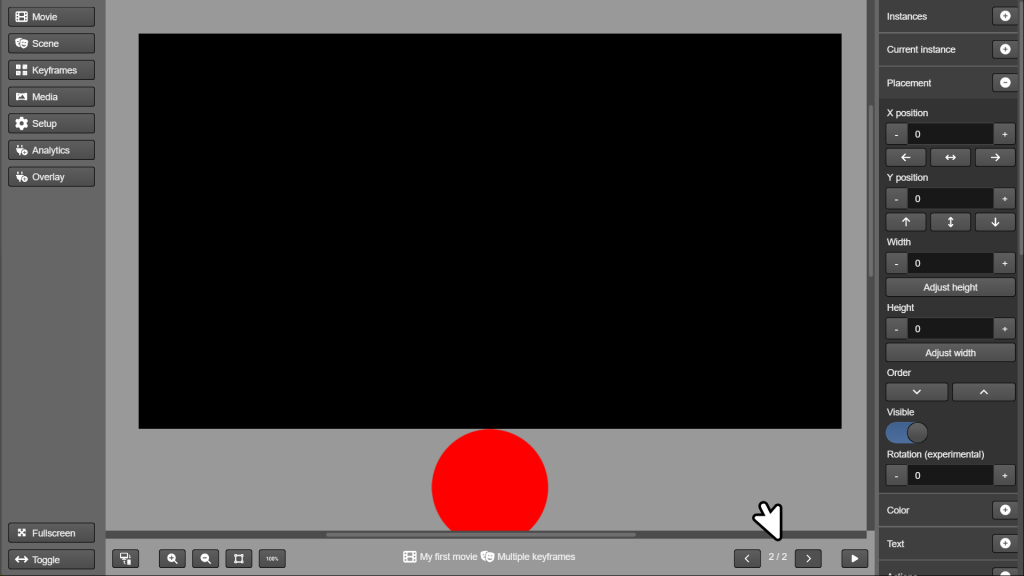
Notice the keyframe count at the bottom of the screen. You can use these buttons to navigate between them.
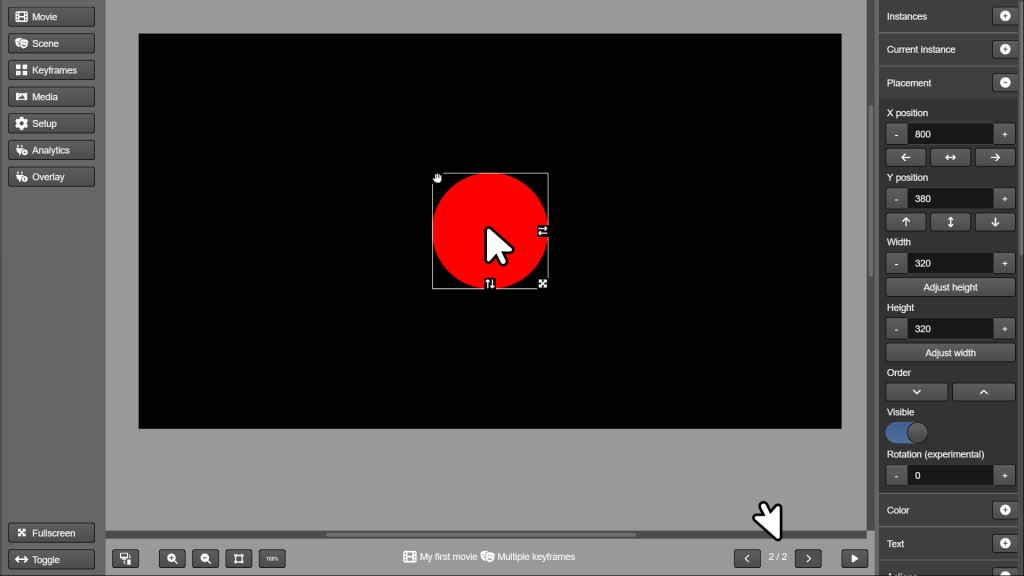
In the second keyframe, position the circle in the center of the screen.

Go back to the first keyframe and see that, in it, the circle remains where we left it.

Go back to the second keyframe and, with it open, add a third keyframe.
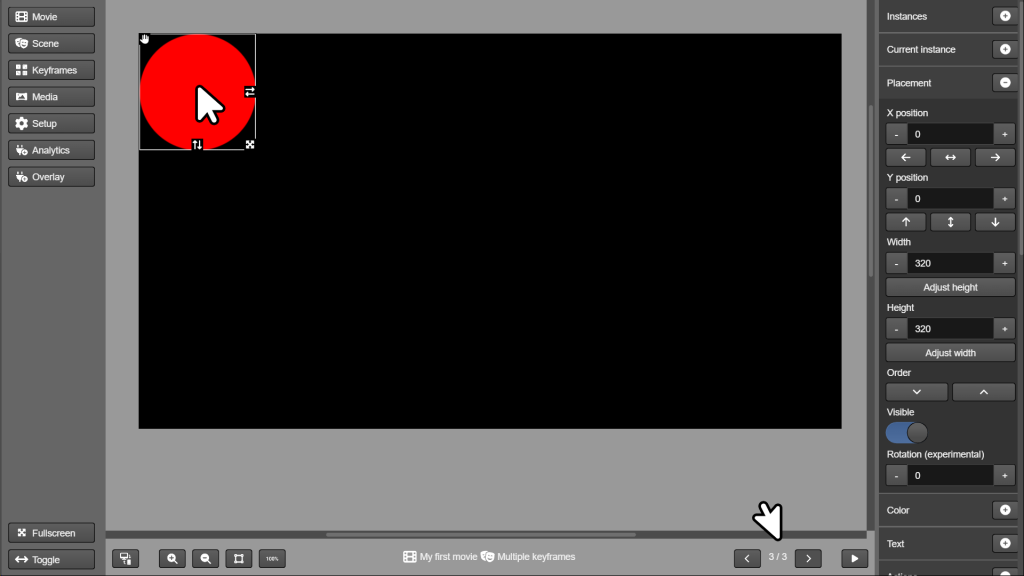
In the third keyframe, move the circle to the top left corner.
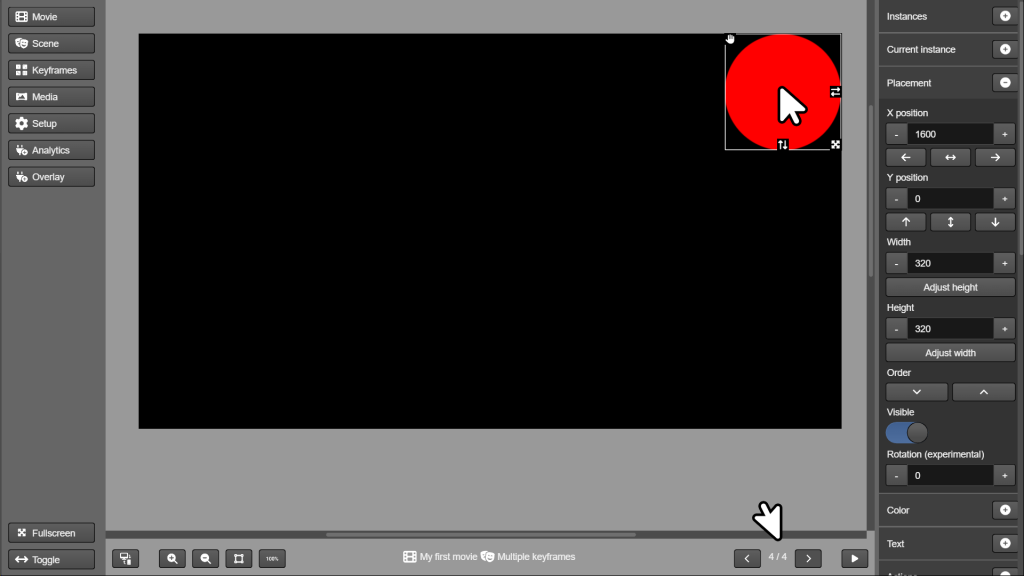
Add the fourth keyframe and position the circle in the upper right corner.
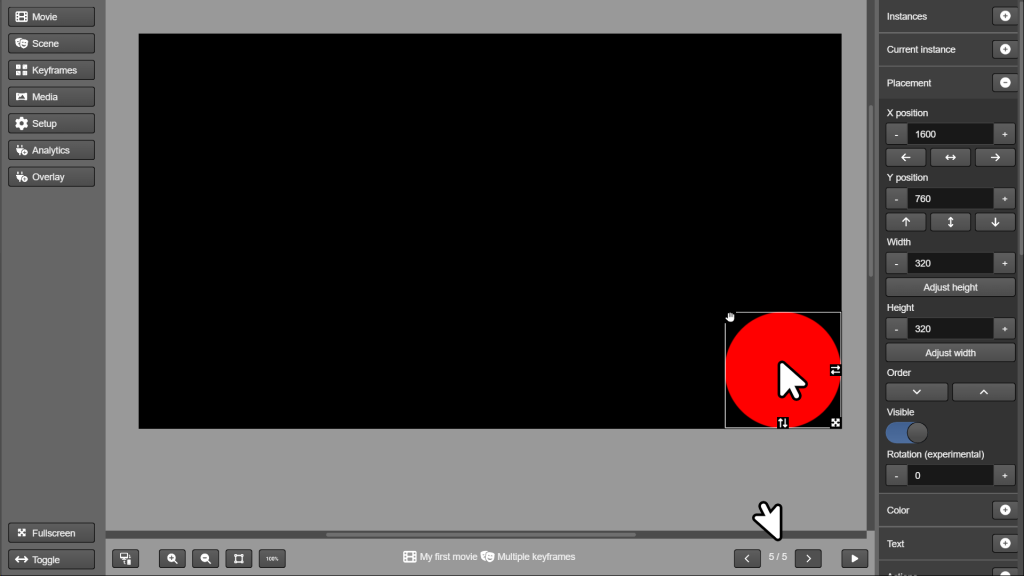
Add the fifth keyframe and move the circle to the bottom right corner.
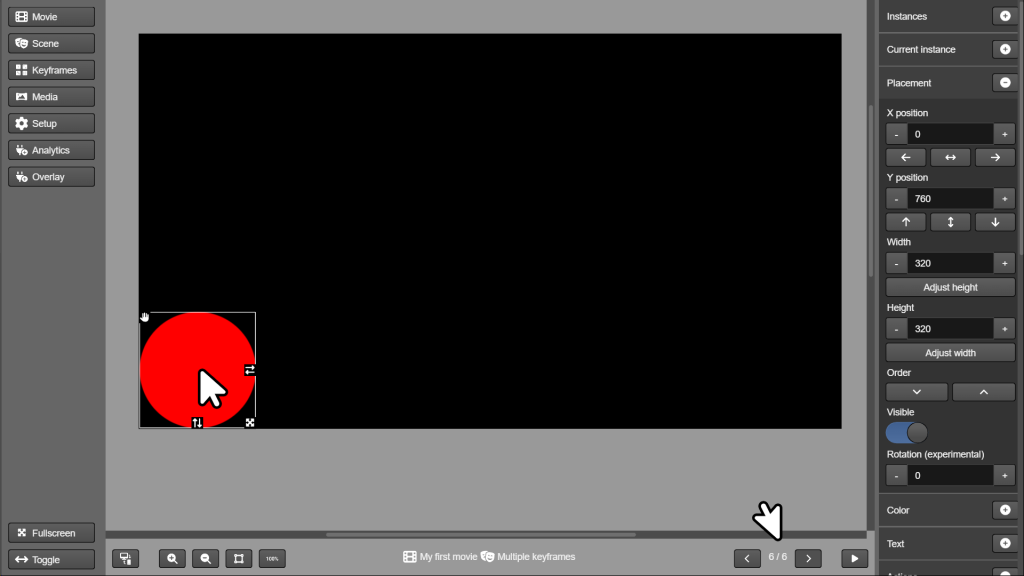
Lastly, add the sixth keyframe with the circle in the bottom left corner. Remember to save your scene.
Go back to the first keyframe. Time to test your scene. See how the circle behaves.
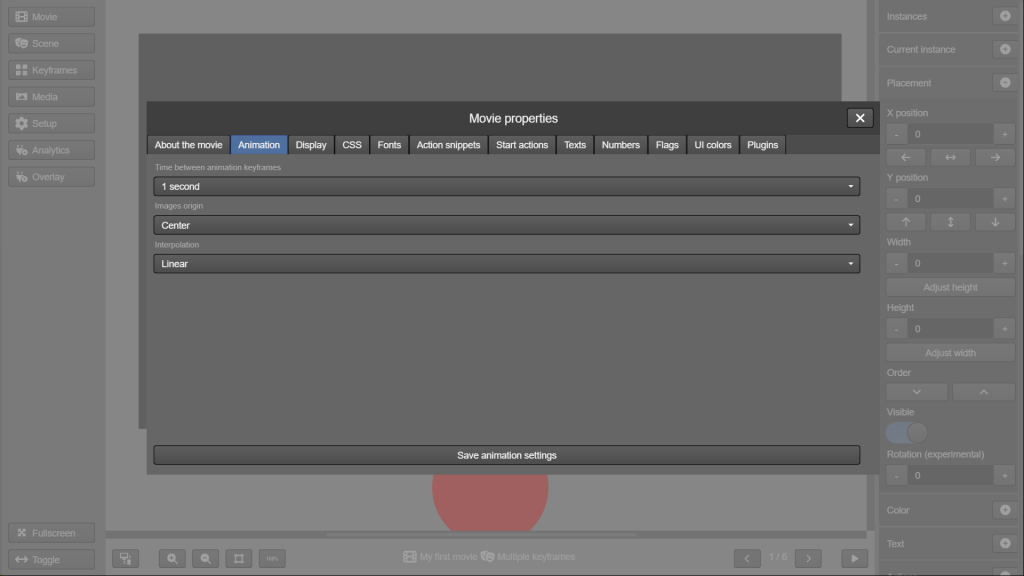
The animation between keyframes respects the same settings used for changing scenes, adjusted in the Animation tab of the movie properties window.
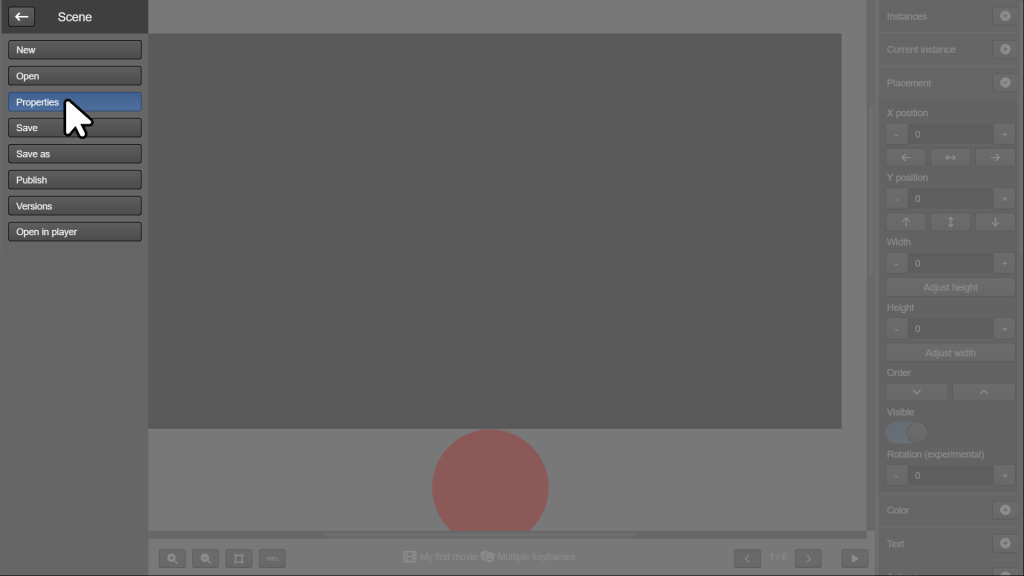
Did you notice how the circle kept moving, even leaving the scene when it returned to the first keyframe? We can adjust this by going to Scene > Properties in the left menu.
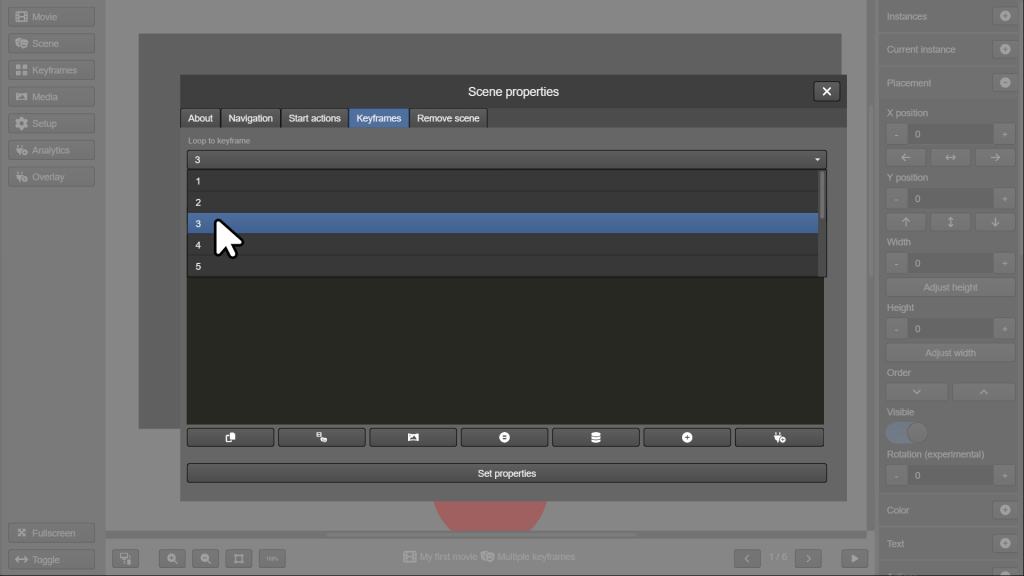
In the Keyframes tab we can define which one the scene returns to when it reaches the end. Change it to 3 and click Set properties.
Now, back to the first keyframe of the scene, let’s test it again. Notice that now our circle enters the scene and then circles the screen, without leaving it.
In this video we learn about keyframes and their potential to create even more complex and fun content.
