
In the last guide we learned about media collections and their use as libraries, but they can also be used as playlists.
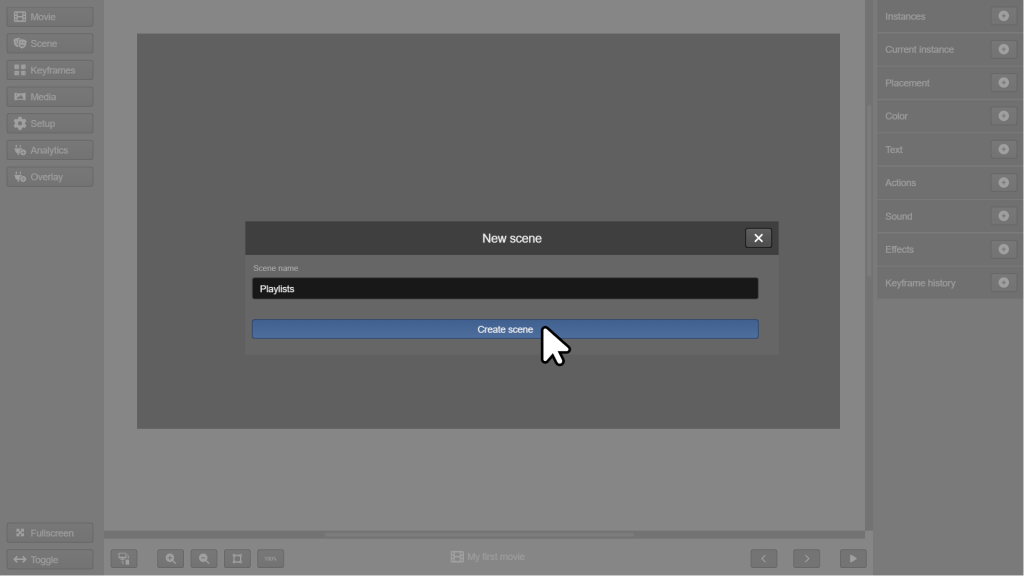
Open your first movie. Let’s create a new scene.
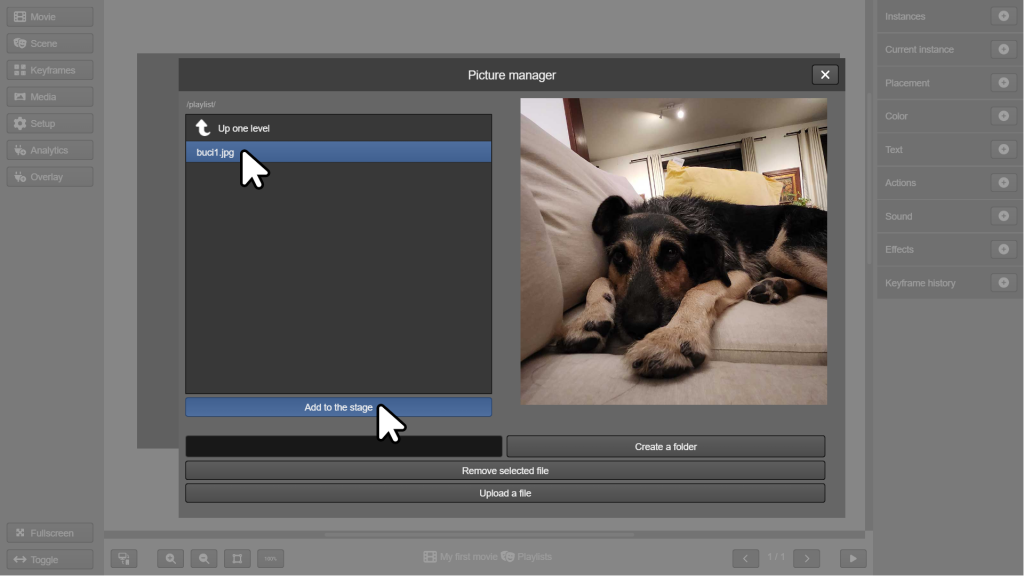
Let’s create a photo collection. First, add the initial photo to the stage.
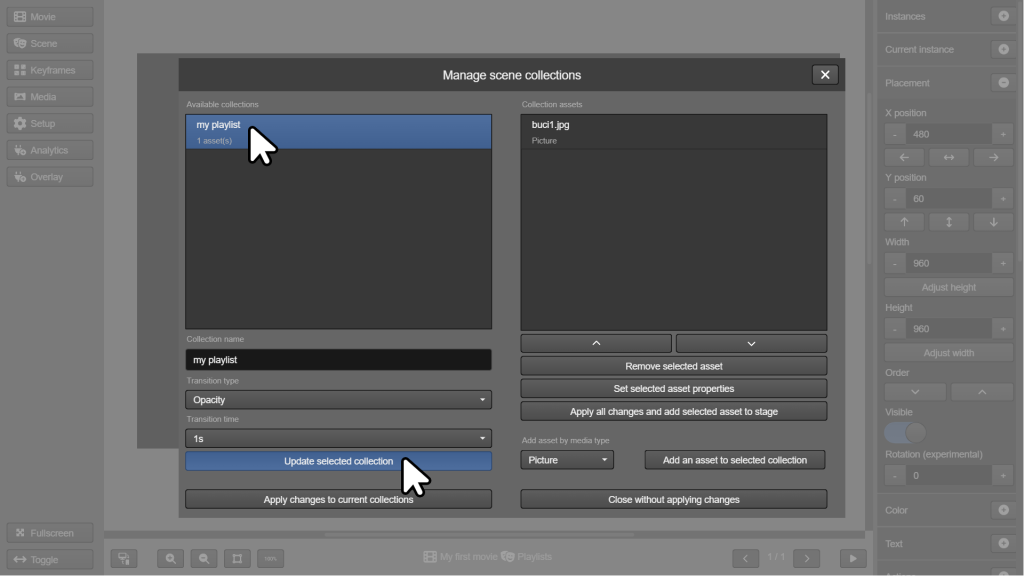
Now, let’s give our collection a name.
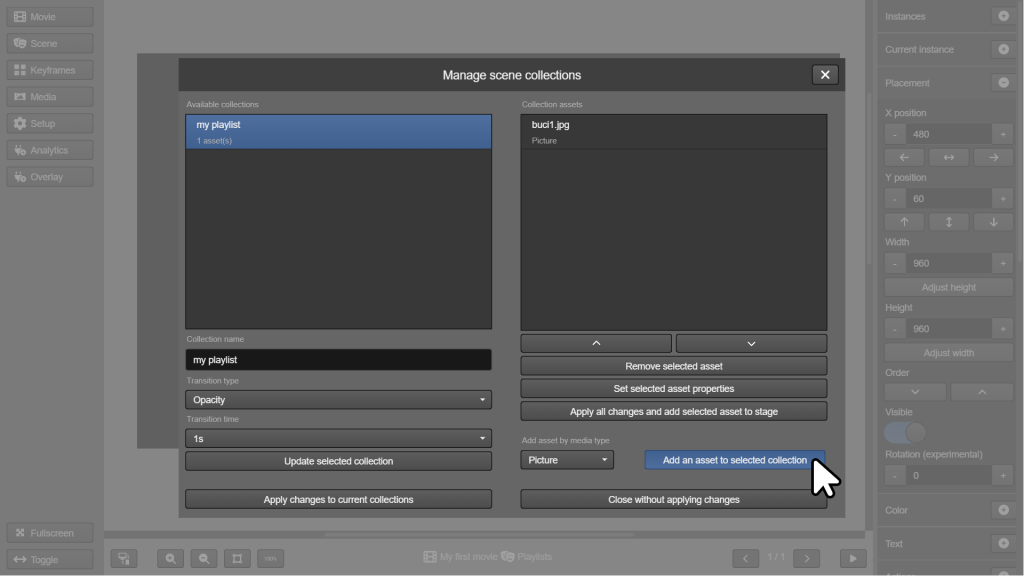
The next step is to add new photos to the collection. Keep adding Picture type media until you have 4 elements.
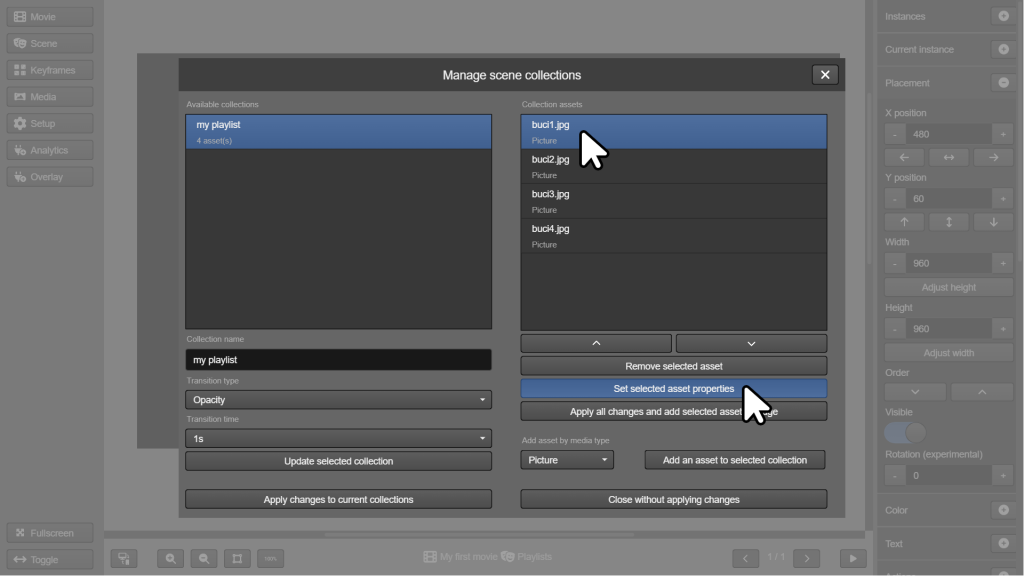
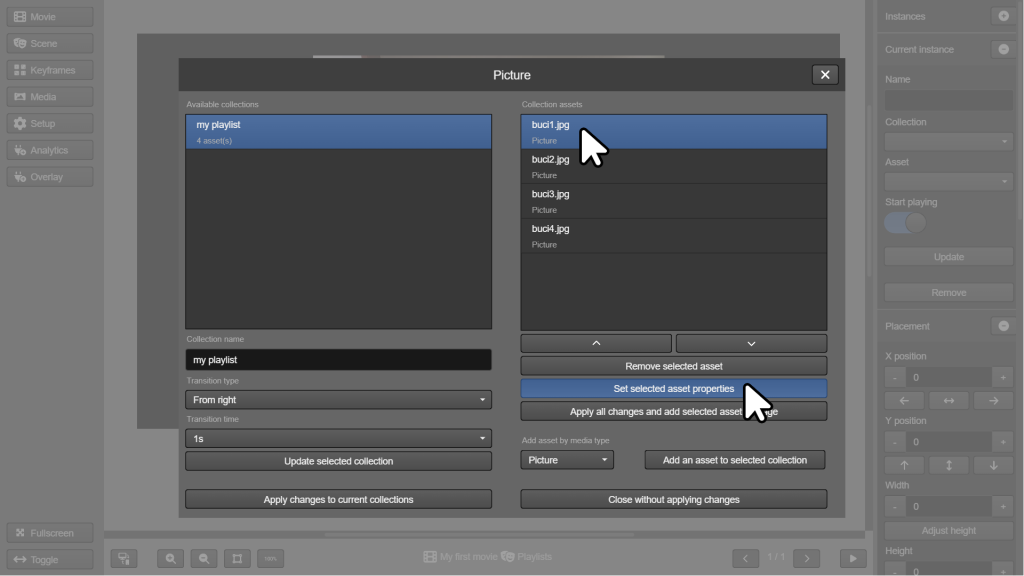
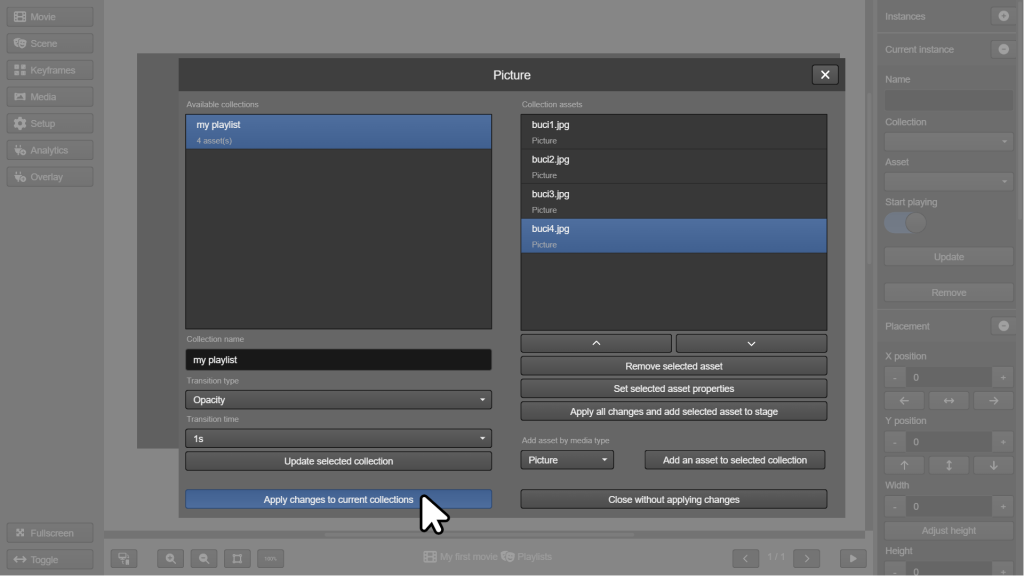
Select each asset one by one and click Set selected asset properties.
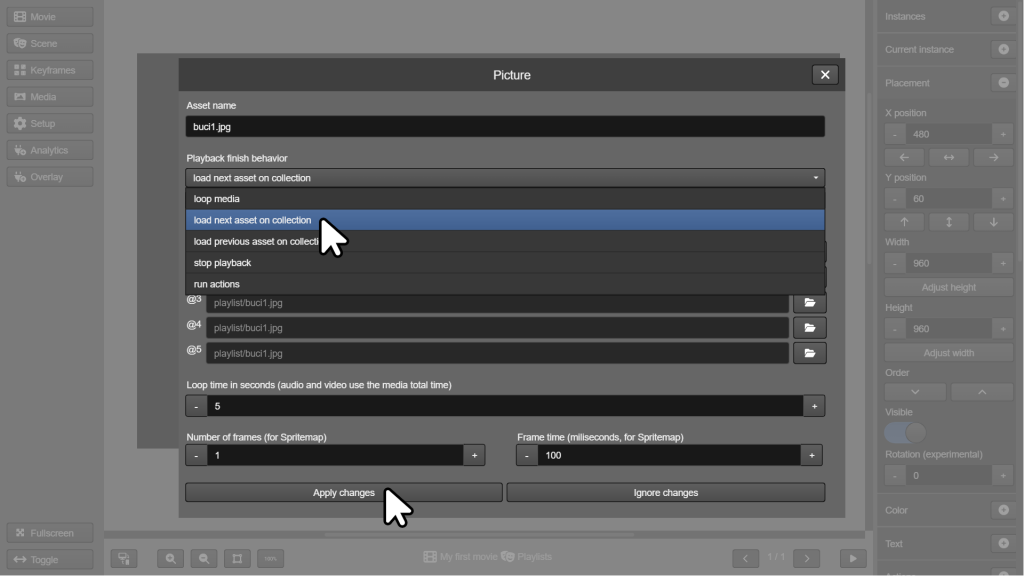
Change the Playback finish behavior value to load next asset on collection. Do this for all assets in the collection.
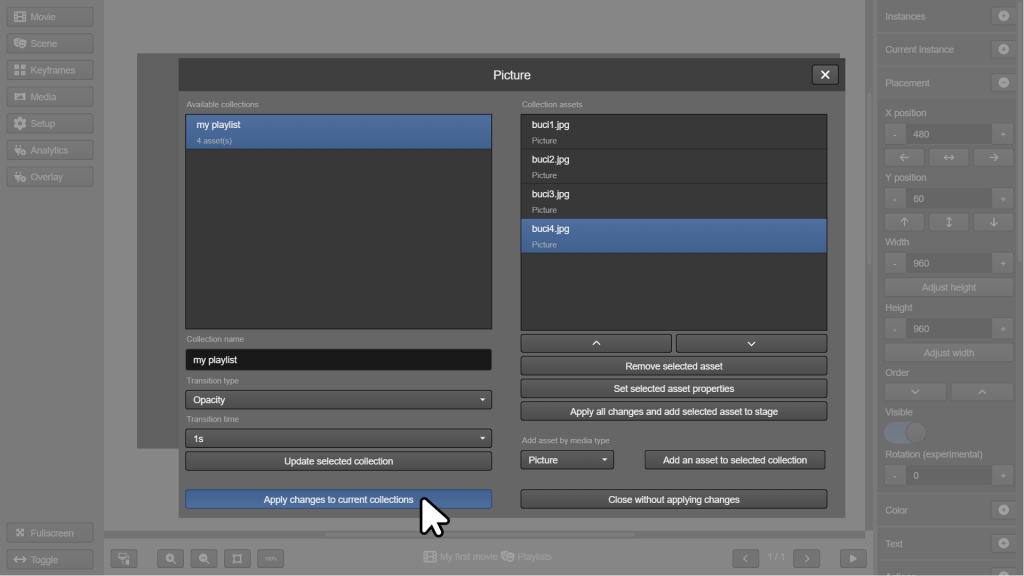
When finished, click Apply changes to current collections and confirm the change.
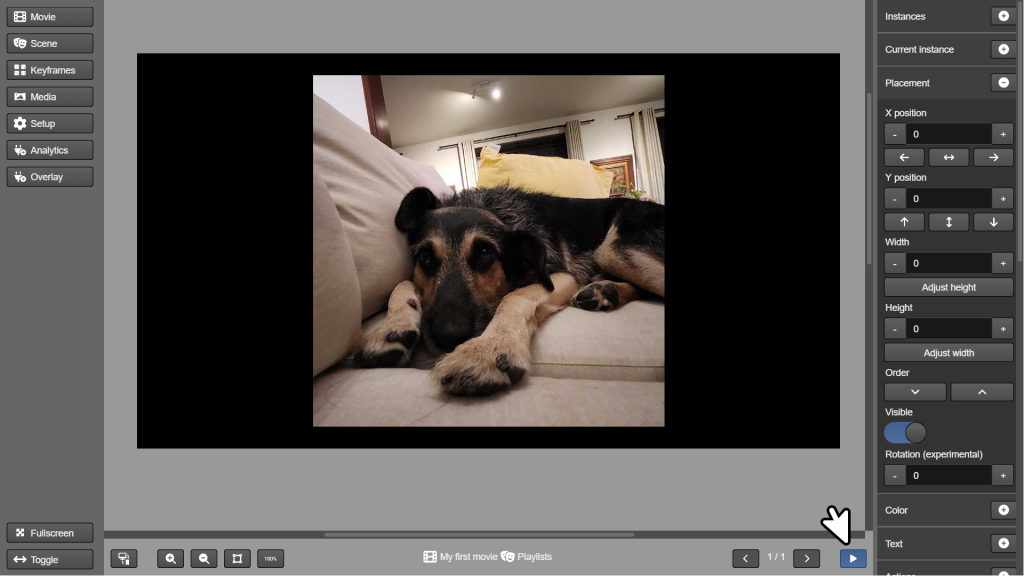
Save your scene. Now it’s time to test it.
See that every 5 seconds the photo is exchanged for the next one in the list. Both this time and the way the change is made can be adjusted.
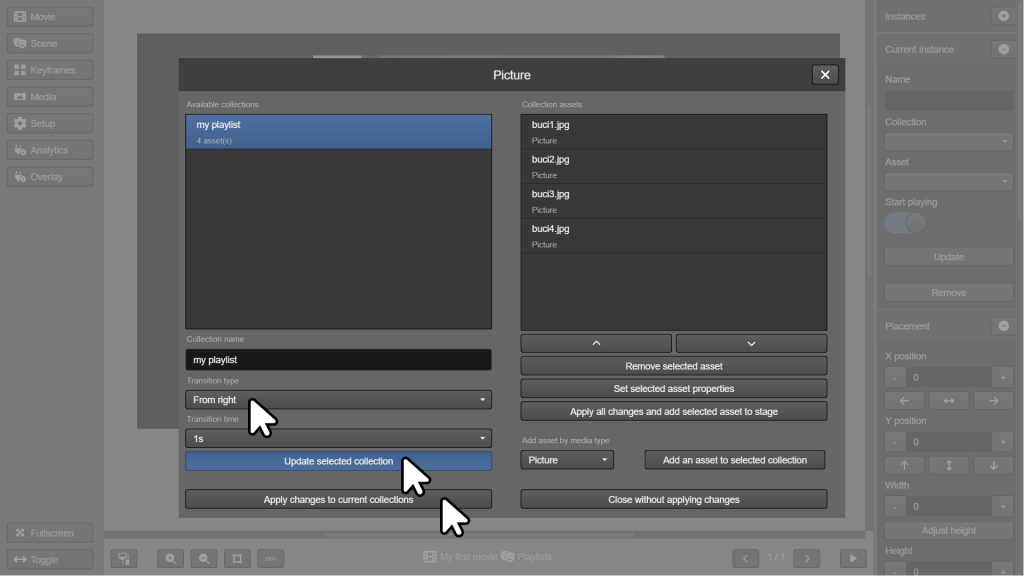
The type and transition time can be adjusted in the collection window. Select it, change the values and click Update selected collection.
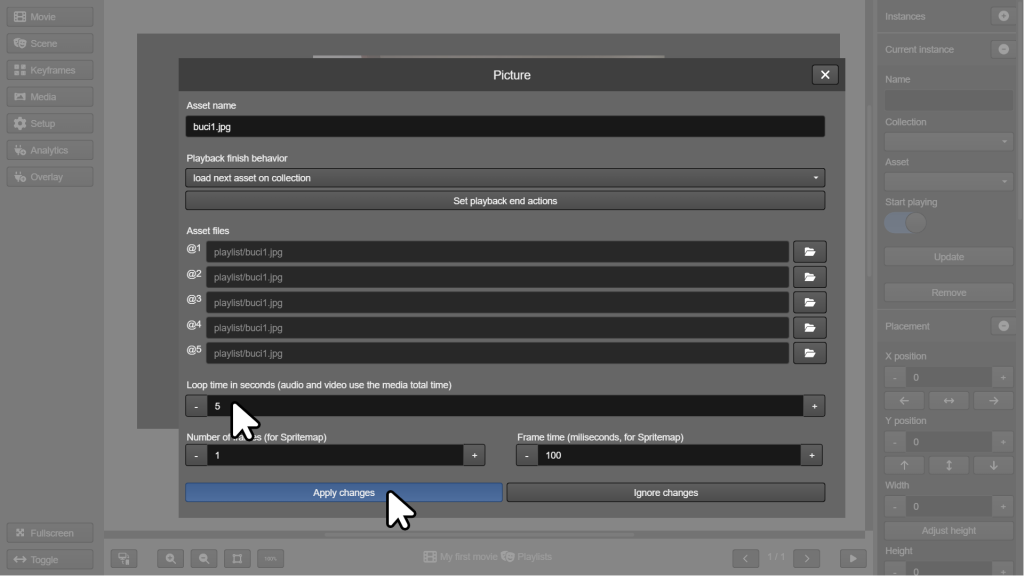
The time each photo stays on screen is adjusted individually for each asset in the collection.
But the playlist doesn’t always need to be automatic. Let’s now find out how to change the photo from an interaction.
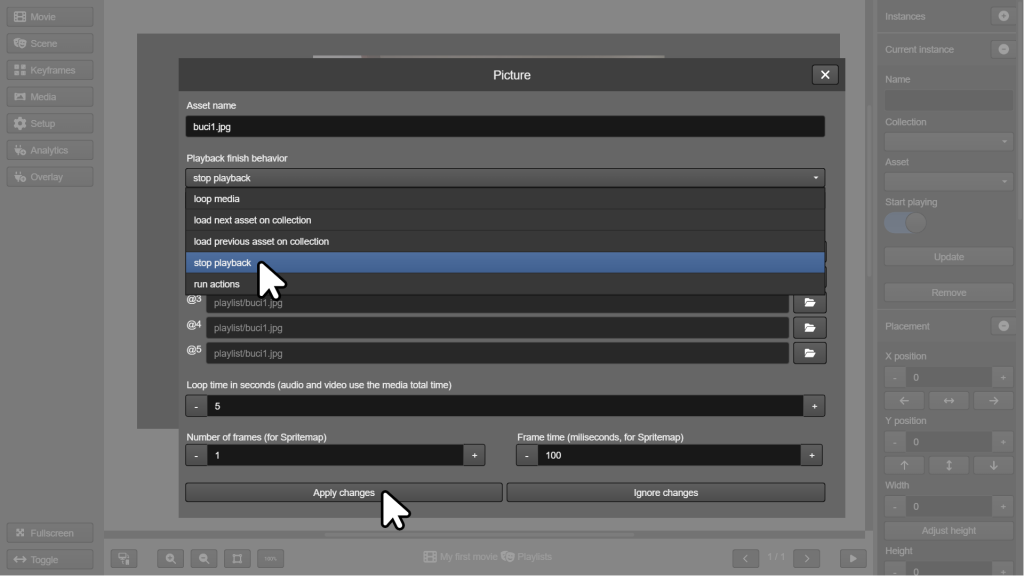
Again, go back to each asset in the collection and change the Playback finish behavior of each one to stop playback.
Remember to confirm the application of changes when exiting the media collections window, returning to the scene.
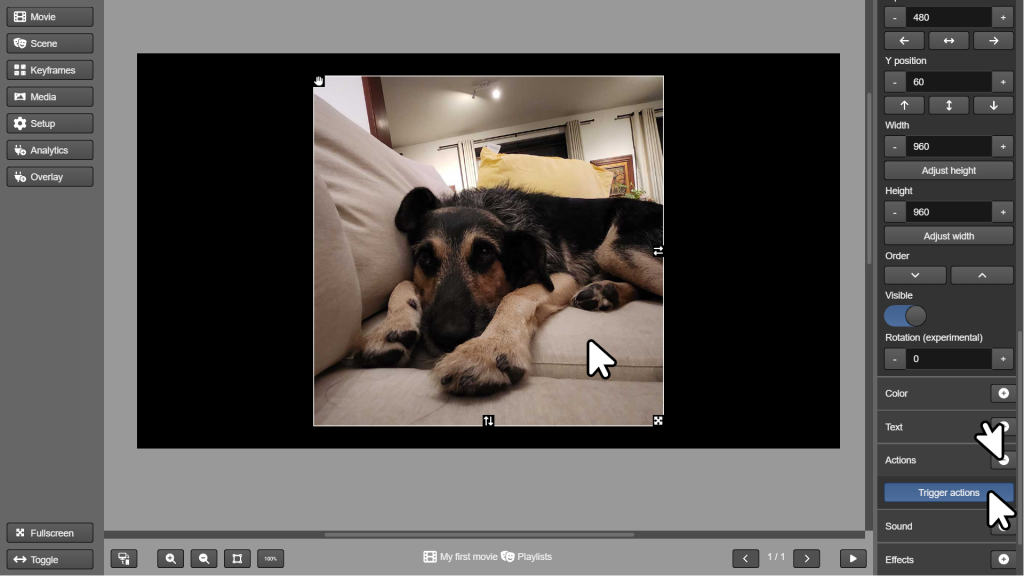
Select the image and click + next to Actions in the right menu. Then click on Trigger actions.
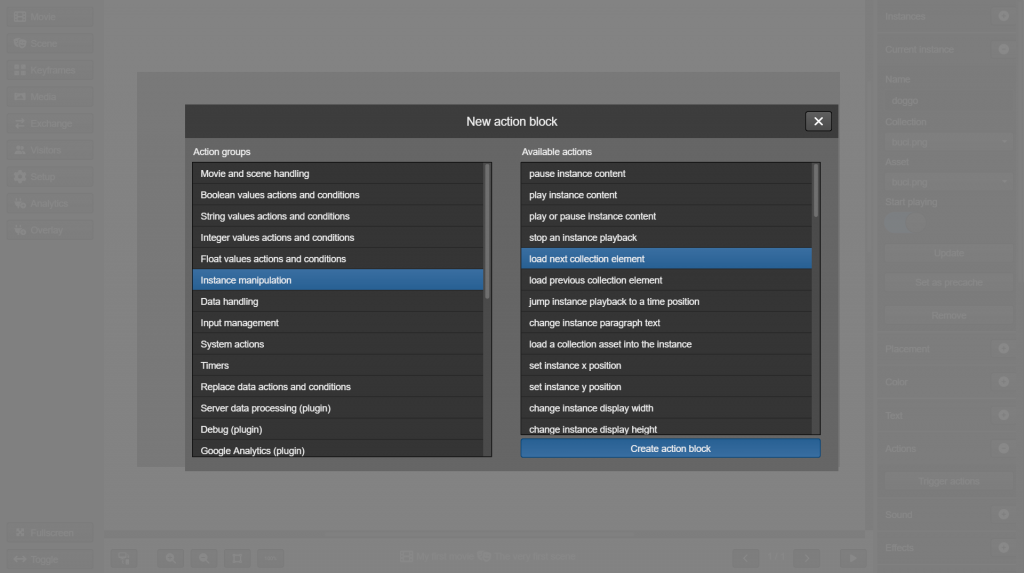
At the actions window, click the + button to add a block. Then, add an action block of Instance manipulation > load next collection element.
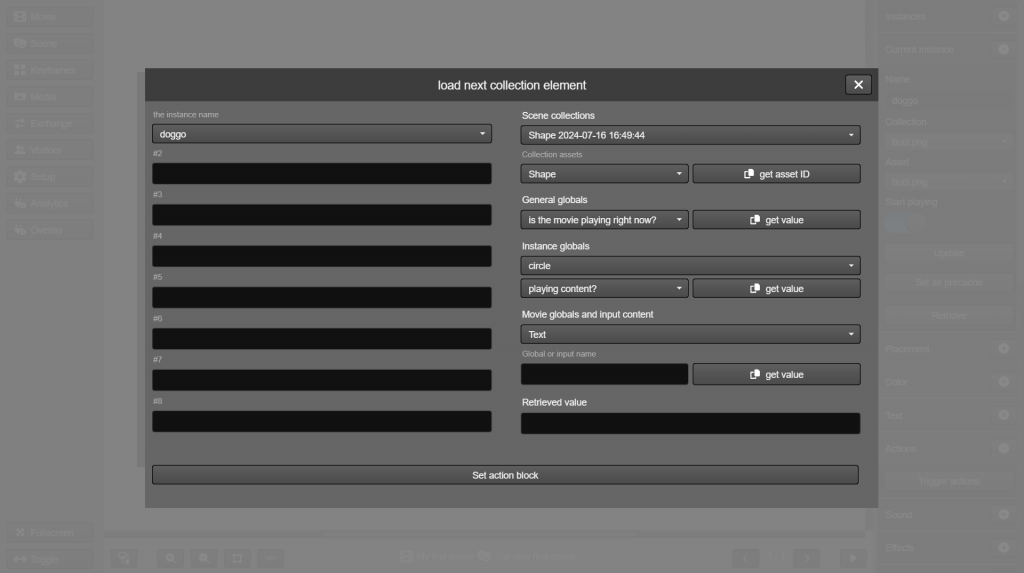
Select the instance on the list and click the Set action block button.
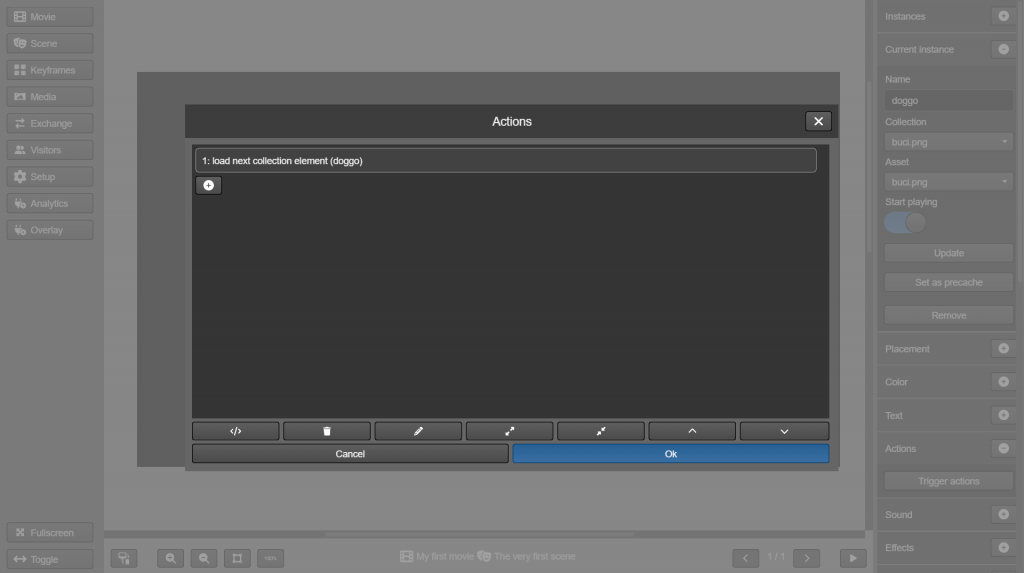
Now, with the action set, click the Ok button.
Save your scene. It’s time to test! Notice that the image stays still until it receives a click, when the next one is loaded.
In this guide we learned how to transform a collection of media into a playlist that alternates images in your scene both automatically and through visitor interaction.